
Introduction
Registering your profile on Preply and getting approved doesn’t start when you press that ‘submit’ button, it starts with preparing everything you will need before hand. In my experience of assisting tutors register on Preply, I have come up with a list of things to prepare ahead of time to ensure that your application goes smooth and quick with a high probability of approval. That’s what I’m sharing with you on this article.
A new email account
I personally use and recommend you to create a new Gmail account however you can use any email service provider of your choice. I recommend a new email address simply to separate business from leisure so that you know that all which relates to your tutoring business is found in one place. You may have a dormant email address which you can use for this purpose but do not use your personal email address. This is because you most likely used your names and surname and this will create unnecessary issues when it’s time to upload your introduction video on the cloud.
To keep your personal information safe, Preply does not allow you to use your name and surname on the YouTube channel you’ll create to host your introduction video. This automatically happens when you create your Gmail account with your full names because the YouTube channel is linked to your Gmail account. This is what will result in your application being rejected unless you change your names after creating your Gmail account.
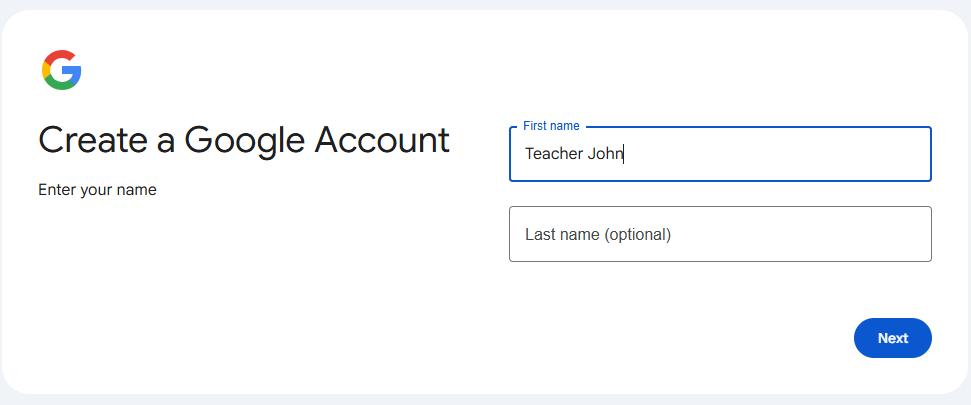
To avoid all the issues above, register your Gmail account with just your name without the surname or use variants like “Teacher John” or “Tutor Grace”. For people with difficult names to pronounce or non English name, you can use a nick name like “Teacher Rea” for the name Reabetswe for example. It makes it easier for students to say your name.
A new YouTube channel
Don’t panic, you’re not about to become a YouTuber (hahaha), this is for you to be able to host your introduction video. It will not be seen by everyone but just your potential student who finds your profile on Preply. One of the reasons I recommend using Gmail is because you can create a YouTube channel that is automatically linked to your Gmail account so that everything is in one place like said before.
At this point, you just need to create the channel and leave it for later use when you’re at step 5: Record a captivating video introduction. You can also use Vimeo to store your introduction video if that’s your platform of choice.

A welcoming high quality profile photo
A profile photo will be one of the first things your potential student sees on your profile so make the first impression count. Good lighting, looking presentable and taking the picture at eye level are some of my none negotiables when it comes to taking a good profile photo. The number one none negotiable is to smile! I prefer you’d show teeth with your smile but if you’re a bit insecure about that, the bare minimum is to smile. Not a fake smile, a proper smile where you smile with your eyes too!
The aim is to look welcoming to your potential students. They don’t have much to go on to tell if you’re a friendly tutor or not and nothing says welcome like a big wonderful smile of excitement. The advise I give the tutors I coach is to pretend that you’re seeing a friend you really like that you haven’t seen in a while. That really brings out that top tier smile.
It’s important to also follow all the rules stipulated by Preply to ensure that your profile photo get approved. Below are some examples of what constitutes a good and a bad profile photo according to Preply and you read more on their article: Choosing a good profile photo.
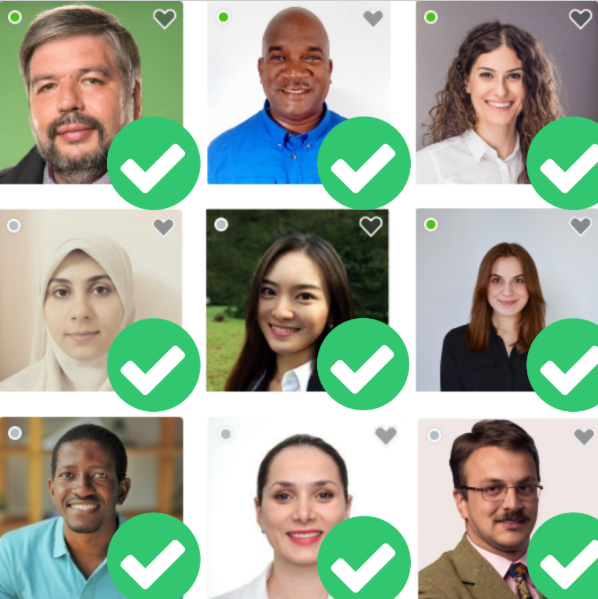

In the case where your favorite photo has a busy background that is not neat, you can utilise a background remover such as Picsart to replace the messy background with a plain colour background of your choice. You might need this background remover later in step 6 where you’ll design an attractive thumbnail. Have a look at the pictures below for examples of what a background remover can do.


High quality pictures of your qualifications
Although qualifications are not a requirement for you to register your profile on Preply, it is beneficial for you to upload them if you do have them. These could be your university qualifications or your TEFL certificate. You should upload them in the format of png or jpeg. Please DO NOT upload PDF files, your profile will be rejected! Simply take a pictures of your printed certificates with your phone. Make sure that they are legible and the lighting is good without any shadows in the picture so take them in natural daylight. If you have PDF copies on your phone, simply open up the document on your phone and take a screenshot and that should be already in jpeg or png format depending on your phone settings. (Show pictures of the wrong thing) Link to the article for qualifications
Must have tools
You will need to create accounts for varies tools which will help you complete your profile registration. These account are free to use so you will not need to pay for any of them.
ChatGPT
ChatGPT is the most popular AI tool that you can use to help you write a professional profile description, a captivating catchy headline for your profile and all your subject descriptions. Register your free account here.
Canva
You can use Canva to edit your introduction video, edit your profile photo or to create an attractive thumbnail for your profile. Canva can also be used for numerous tasks in your tutoring business such as creating beautiful lesson plans and videos for your classes. You can register your free account here.
Capcut
Another video editing tool that you can use on your phone or computer to edit your introduction video is Capcut. It really doesn’t need further explanation, just download it on your phone or computer here.
Teleprompter
You will be required to record an introduction video with either your laptop or your phone. I recommend you use your phone to record the introduction video as it probably has a higher quality camera than you laptop. The introduction video has to be between 30 seconds and 2 minutes long. Even though 2 minutes is not a long time to record a video when you have a written script, however it can take you more than a day to record the video if you are planning to memorize every single word of your script so that you record on one take. This is where a teleprompter comes in handy.

When downloaded on your phone, the app allows you to display your script in a scrolling motion so that you can read the script while you’re recording yourself with your selfie camera. It is also important to ensure that it doesn’t appear evident that you are reading off a script as this makes your introduction video look inauthentic. This will not instill confidence in your potential student that you’re a good teacher and you know what you’re doing. If you want to read more on how to look and sound authentic in your introduction video, check out this article: How to get approved on Preply step 5: Record a captivating video introduction. You can download any highly rates teleprompter app available for your device and watch youtube videos on how it works then use it.